
Training phrases
The more you add training phrases, the more chance you will get to match a query from your users
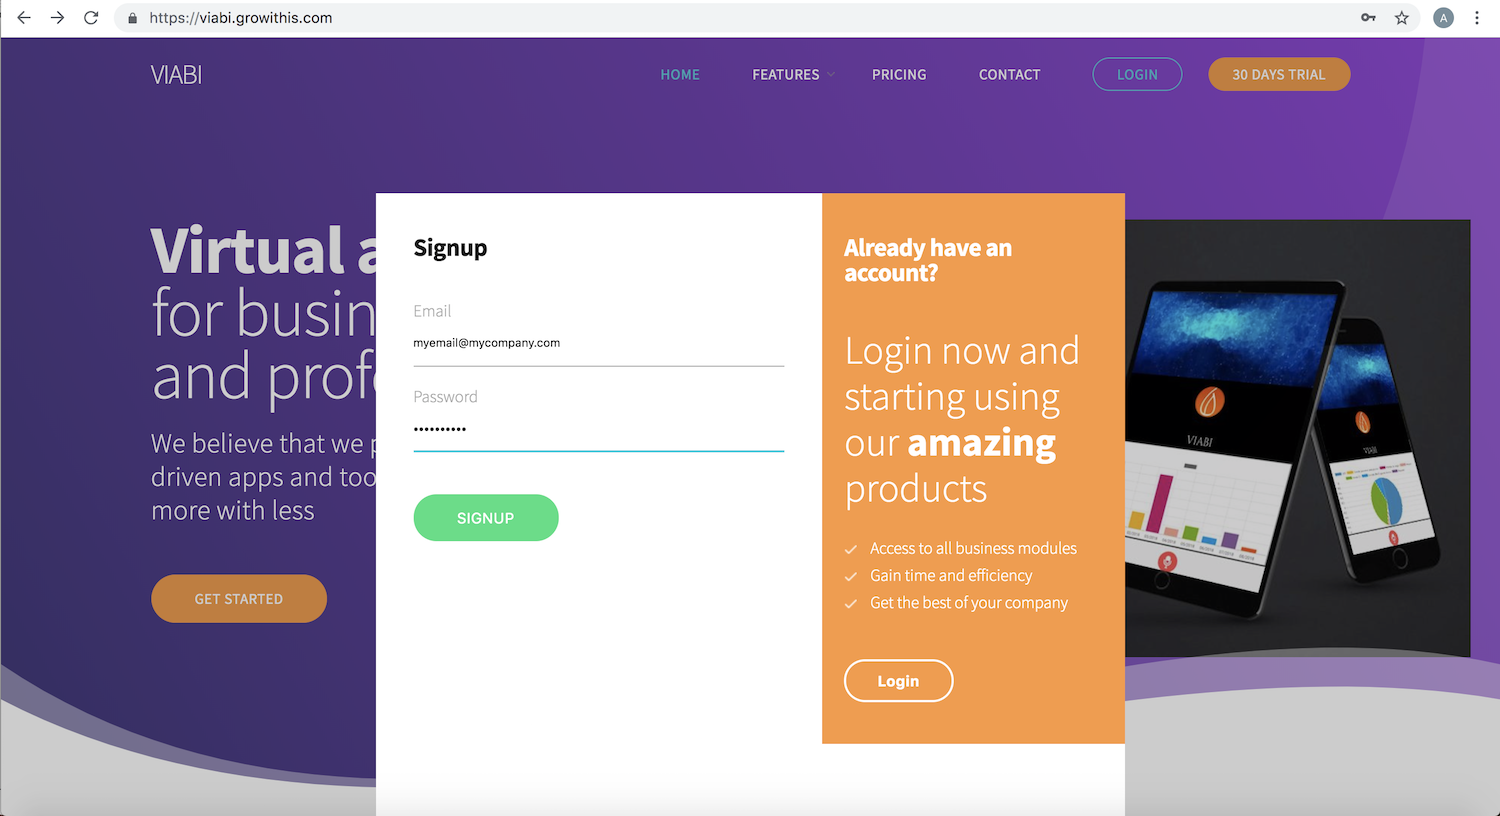
Create an account from the VIABI website with your company email and your password.
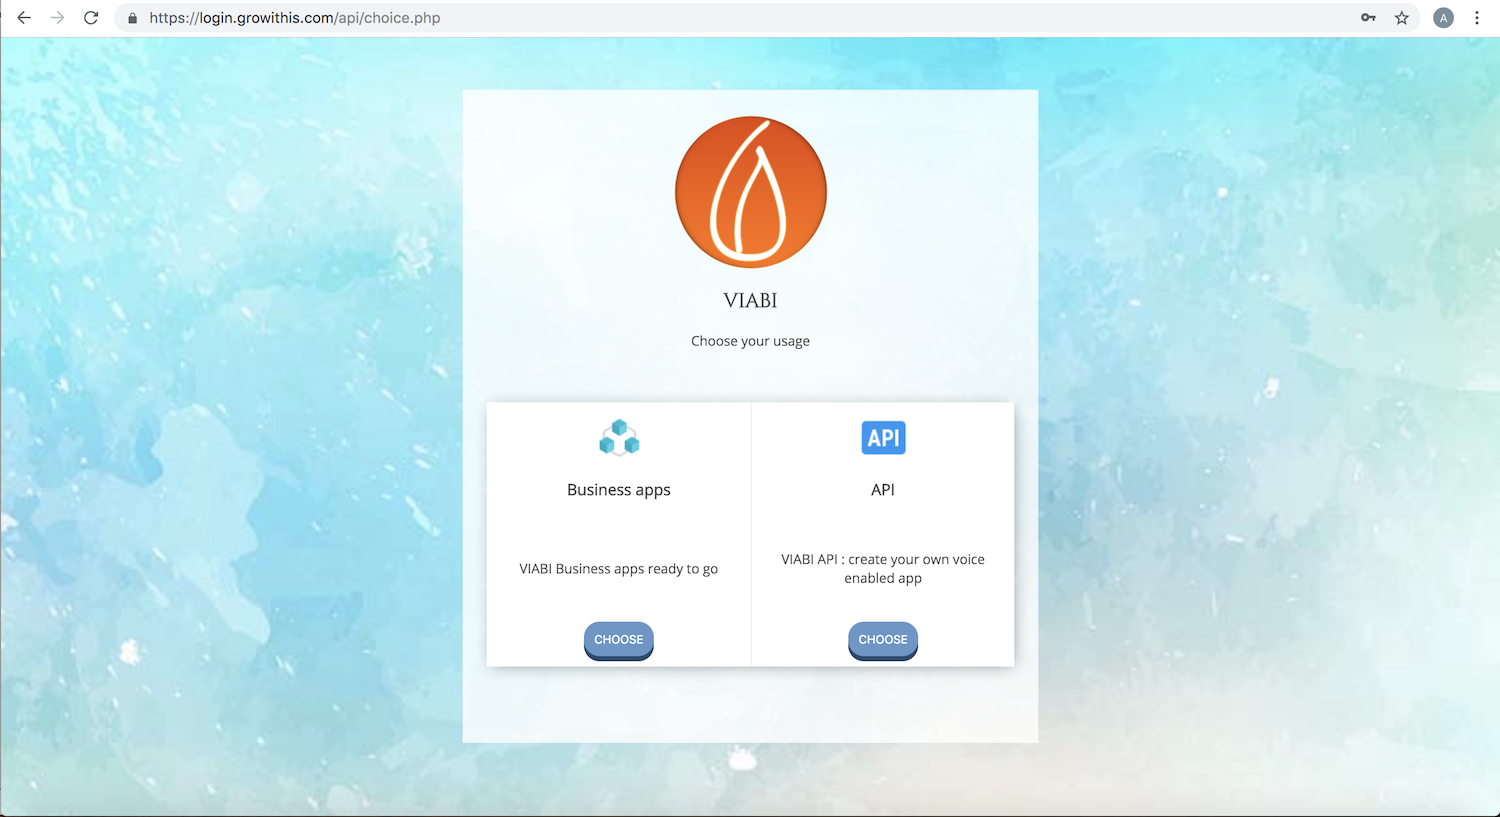
Choose VIABI API
Fill your information and submit.
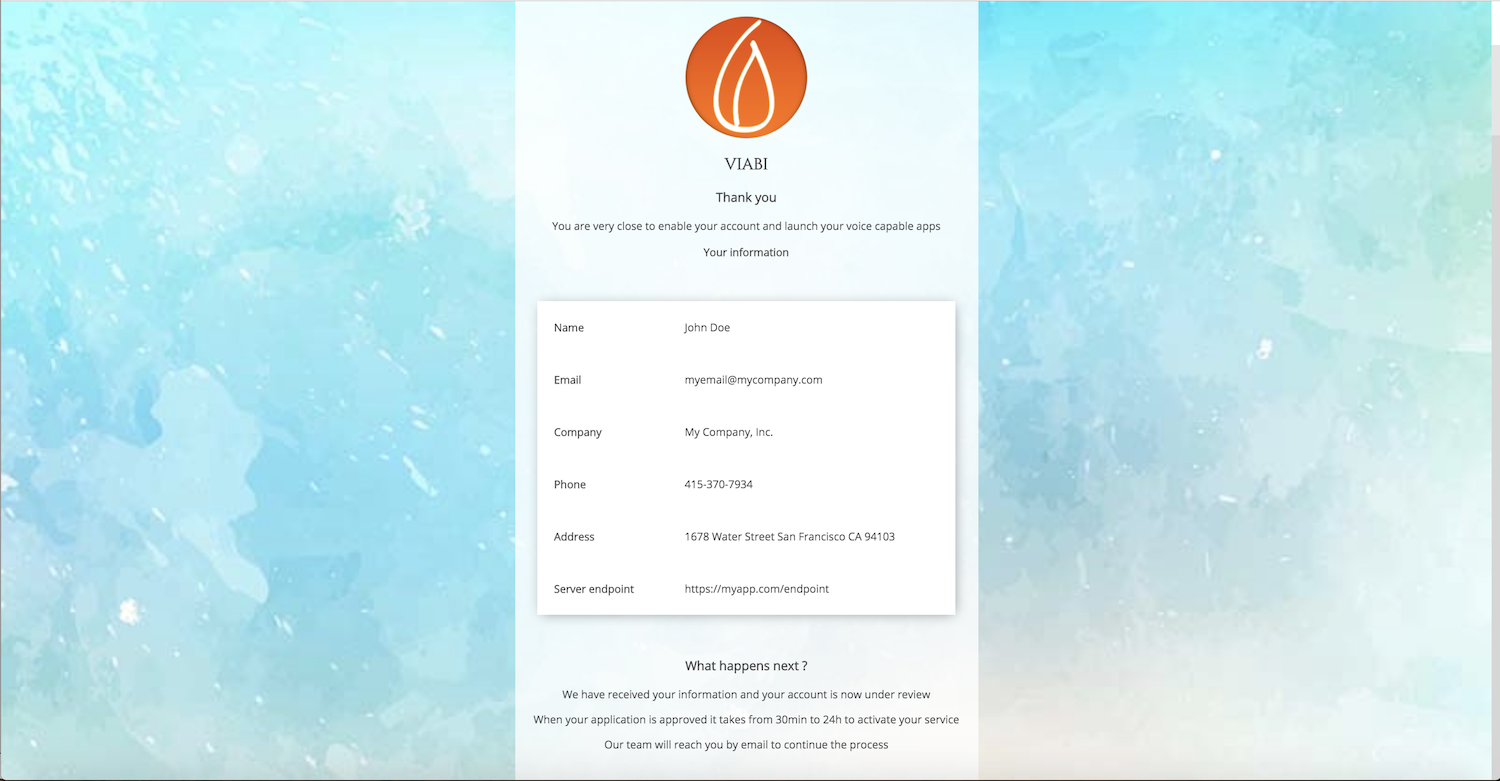
Your application will be reviewed and your account activated within 24h. You will receive an email with your conversational API credentials
Download the Android version of VIABI
![]()
![]()
Once your account is active you can create conversations and start making voice commands.
Login to Dialogflow, the conversational API made by Google with the credentials sent to you by email after that your account have been activated.
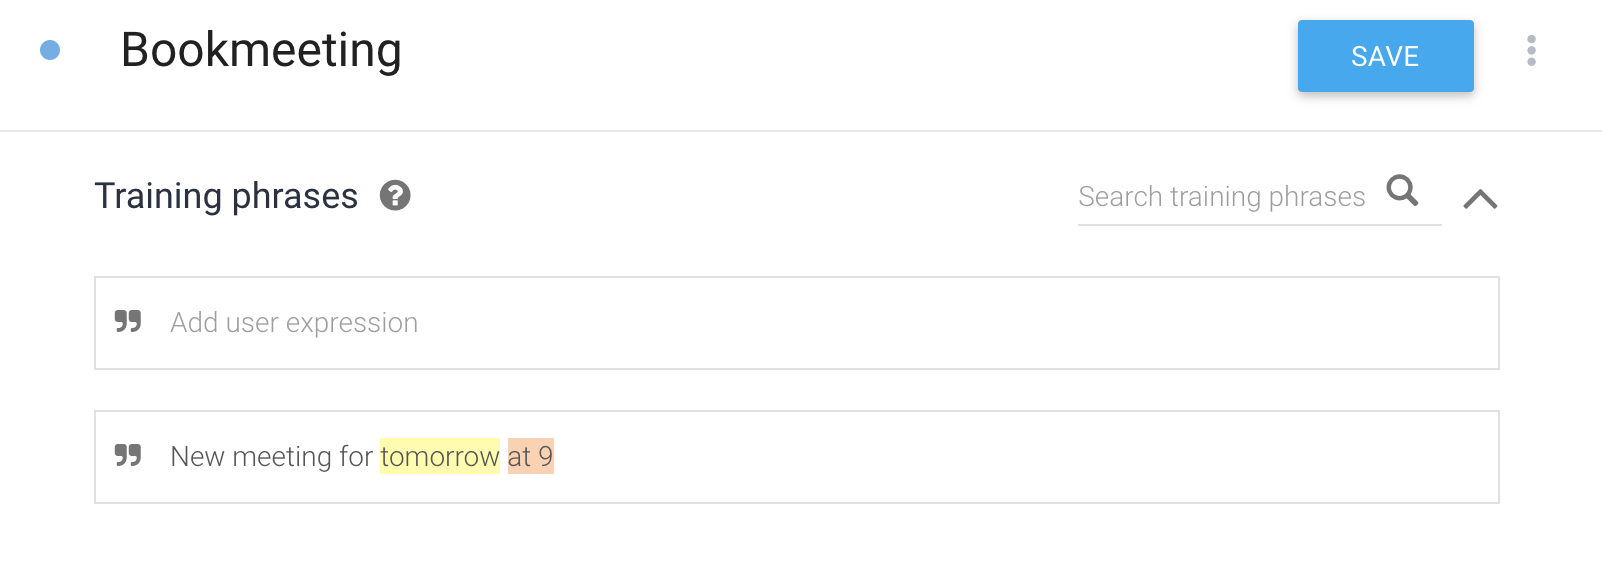
Let's create an intent
We are going to add in our example a training phrase
Book a meeting for tomorrow at 9
Surround the parameters we want to extract in our example
Day : Tomorrow
Time : at 9
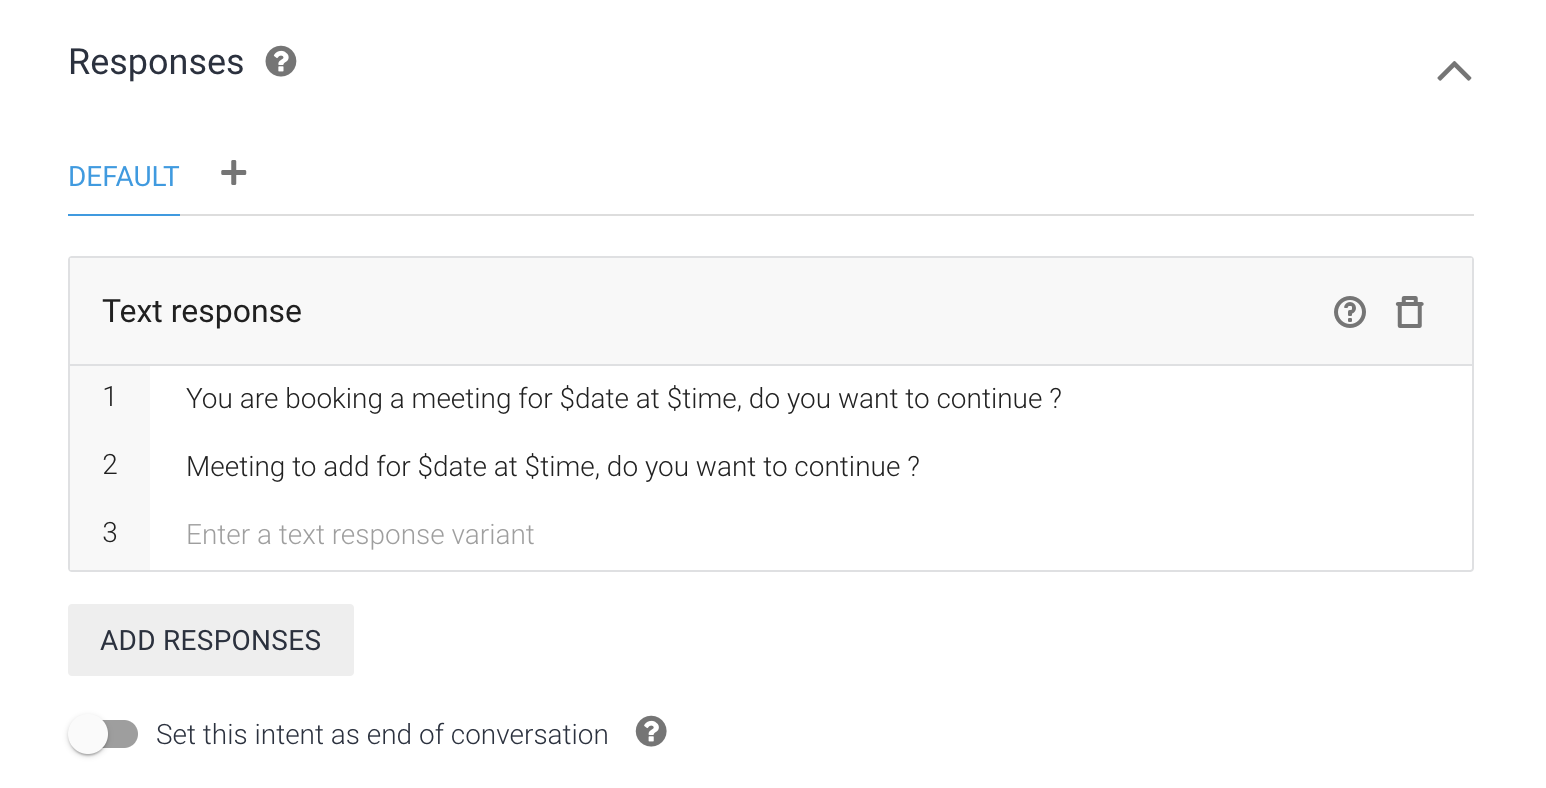
To make the user fill all the parameters, mark the as required and add a prompt
Day : For what day ?
Time : Which hour ?

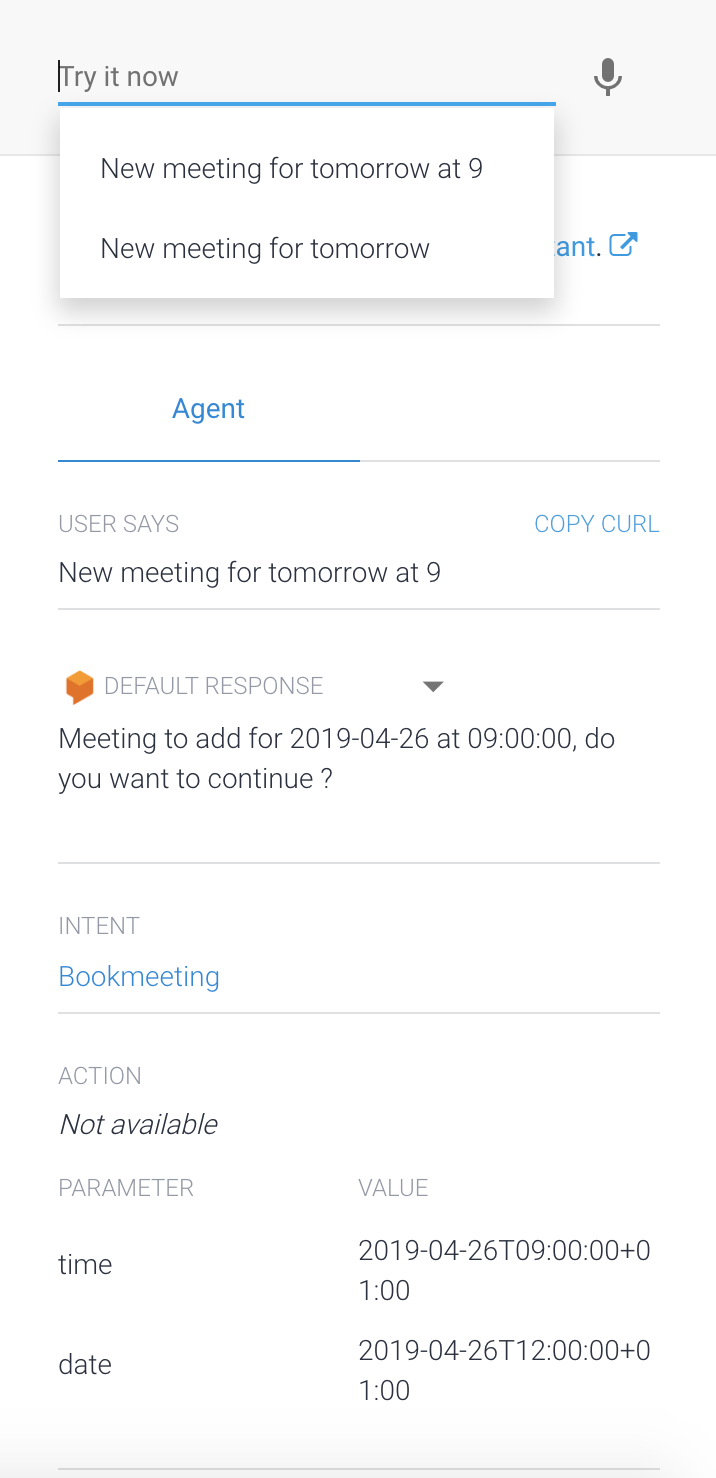
You can test the training phrases in the right sidebar of the interface and see which parameters are extracted with the response. Once the testing phase in the conversational API are working you can make voice commands from the VIABI interface
The more you add training phrases, the more chance you will get to match a query from your users
You can get the original user parameter input with $name_of_parameter.original
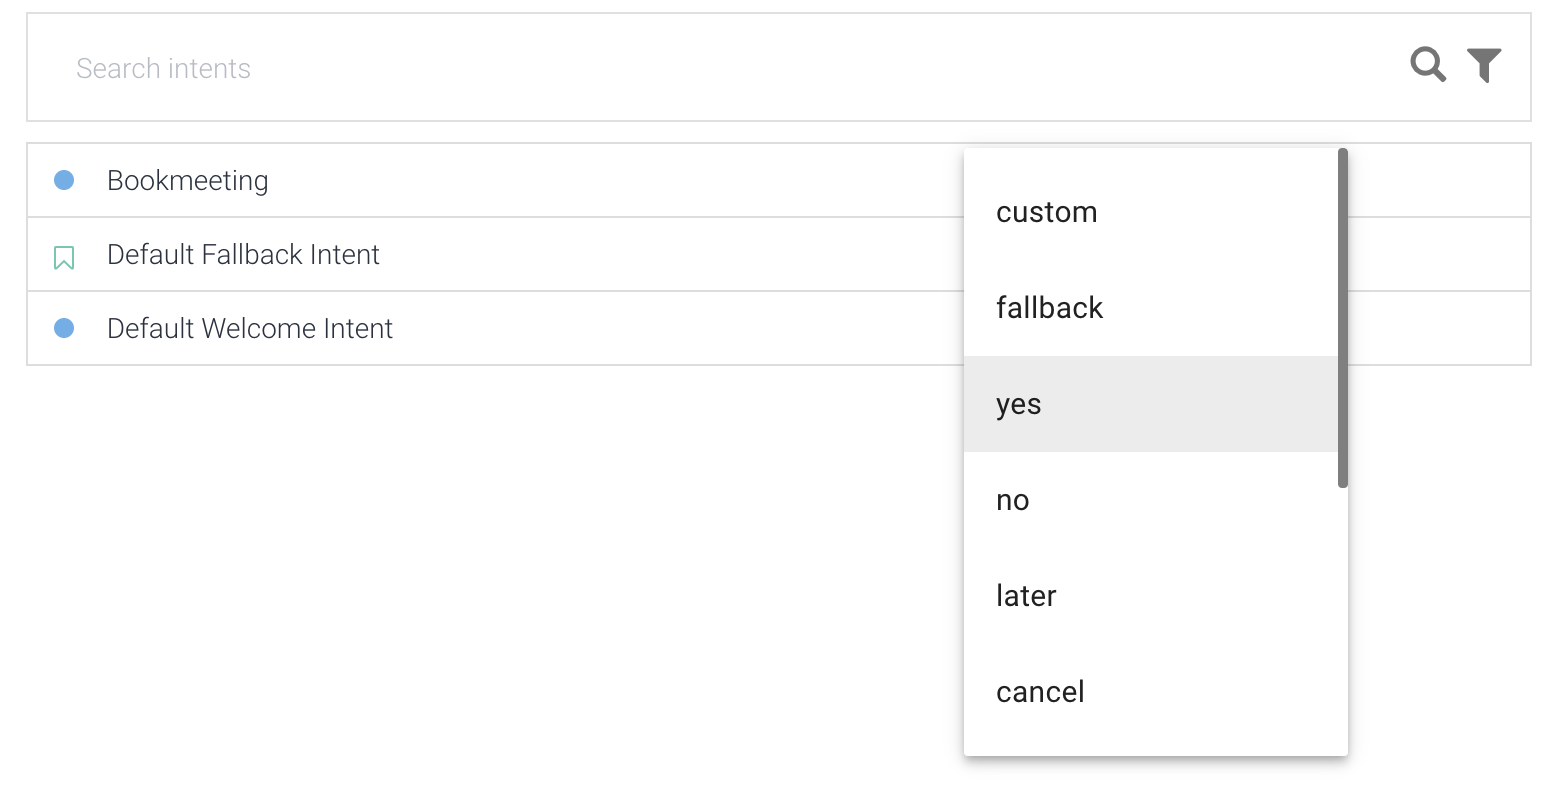
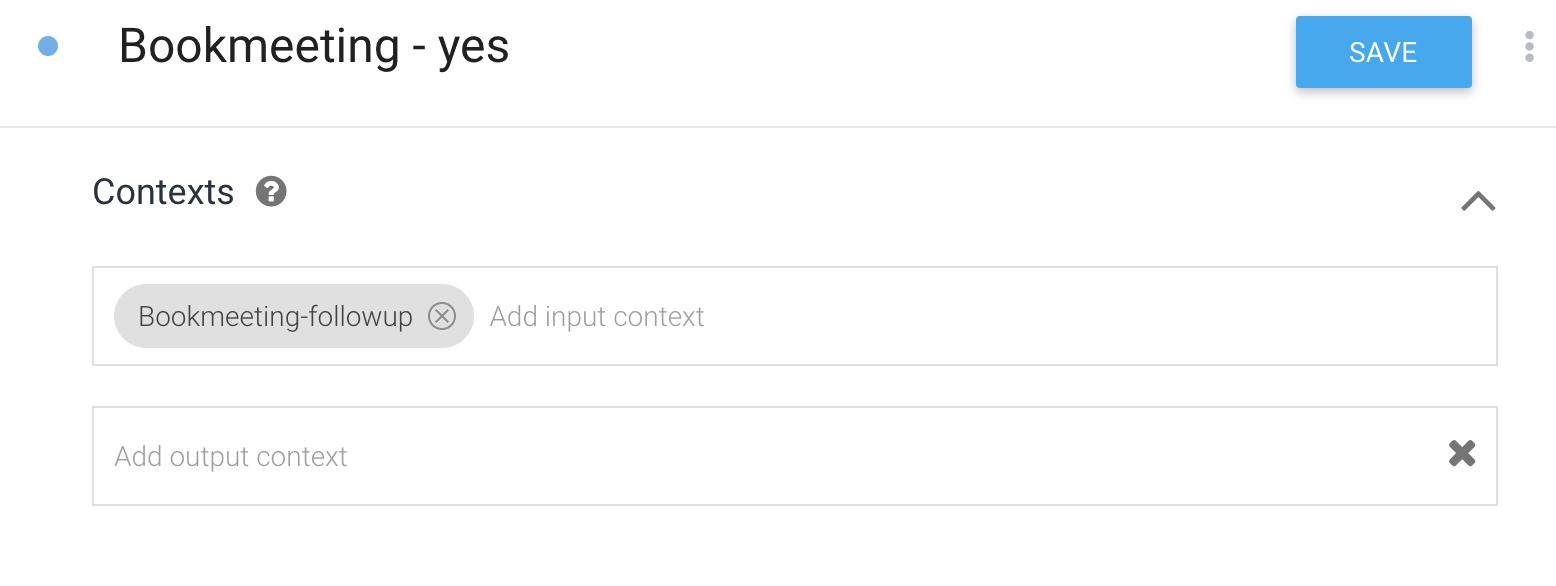
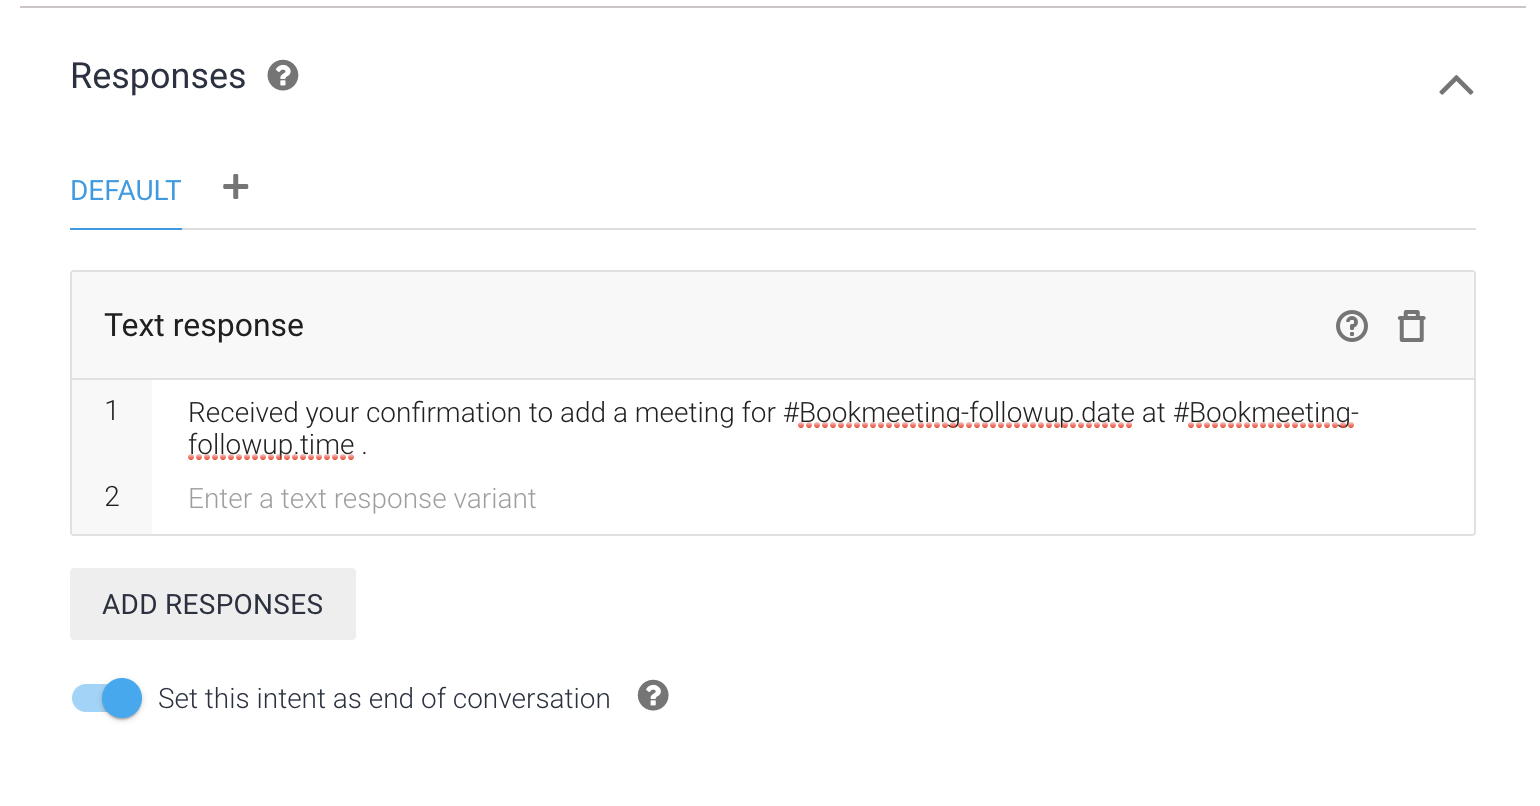
You can add intents that follows a previous one. In practical cases, you will sometimes ask for a user confirmation before continuing to the next steps. To do so, we will create a follow-up intent.
Let's take our previous example of booking a meeting. It could be a good idea to ask the user if the date extracted is correct and if he want to save it in his schedule.
We are going to :
You can get the parameters filled from the previous intents by calling the context of this intent witch takes the form of #[name of the context].[name of the parameter].
You can have more information of how to use the conversational API from the official Dialogflow documentation.
Sometimes you will need to save or display some information from your server. To do so, we will connect VIABI API with the data of your server.
composer require growithis/viabi:dev-master
Or
                                            <?php


require_once 'vendor/autoload.php';


use VIABI\VIABI;


$v = new VIABI();


$v->setApiKey('YOUR_API_KEY_TOKEN');


$action = $v->getAction();


date_default_timezone_set('America/Los_Angeles');


if($action == 'savemeeting') {


$parameters = $v->getParameters();

$date = $parameters['date'];

$time = $parameters['time'];


/*


Your stuff here, in our example we will extract the parameters of the date and time of the meeting and the user ID and save them into the database


*/


$v->setSpeech("Meeting requested from user ID : ".$v->getUserId()." for ".date('Y-m-d',strtotime($date))." at ".date('H:i',strtotime($time))."");


$v->display("<h3 style='text-align:center'>Example of display</h3><table style='margin:auto;width:50%' border><tbody><tr><td style='width:50%'>Date</td><td>".date('Y-m-d',strtotime($date))."</td></tr><tr><td>Time</td><td>".date('H:i',strtotime($time))."</td></tr></table></tbody></table>");


//Set context and it's lifespan
//$v->addContext("Context-name", "4");


/* return the response */
$v->response();


} ?>
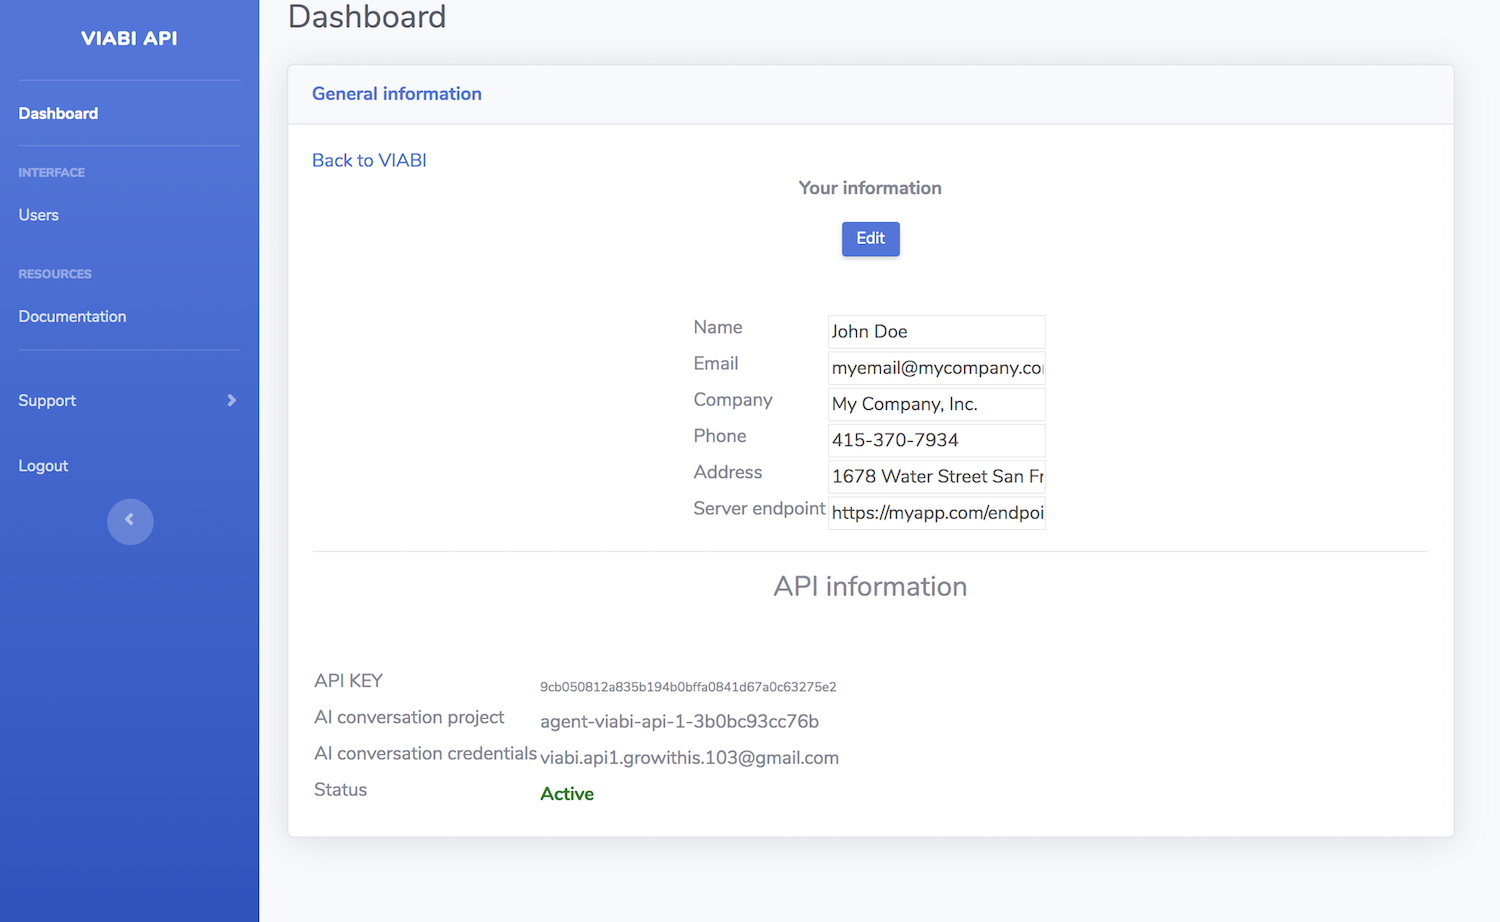
Your API KEY TOKEN can be found from your dashboard when you are logged in your VIABI account
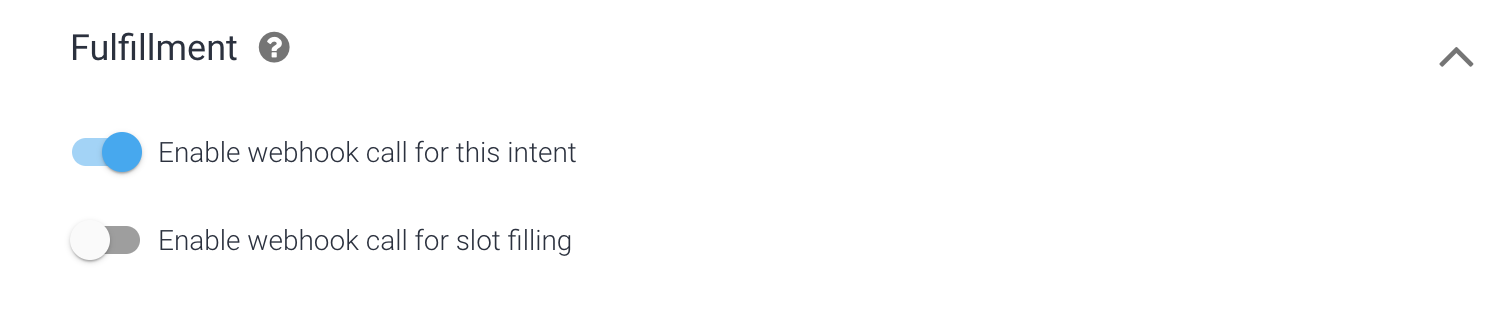
Be sure that the endpoint filled in your API dashboard includes the code above
Back to our meeting booking example, go to the conversational API and choose the Bookmeeting intent

Coming soon
Coming soon
Coming soon
Sometimes we have multiple users who record or ask for some queries from the backend with VIABI. We want to be able to get their information from our backend.
From the Dashboard go to Users and add a new one
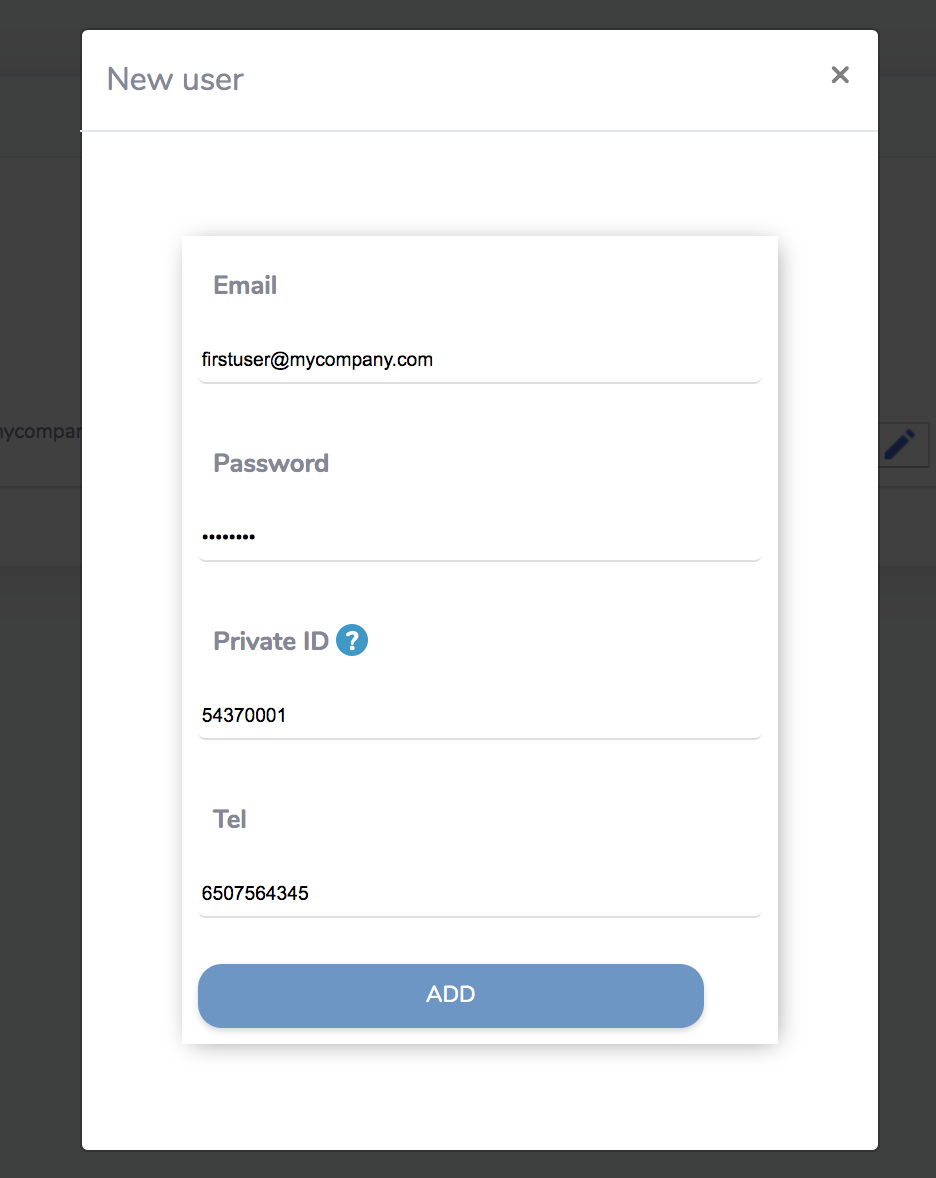
Add an email, password, private ID and phone number. The private ID is the ID that will be retrieved from the backend and with what we will be able to identify who made a record. In the previous example we will be able to know that a user added a meeting in the calendar and then we would be able to display it on it's schedule in a further functionnality.
User ID can be retrieved by from the Backend with the method getUserId() from the library of your preferred language in the section above
Sometimes we have multiple users who record or ask for some queries from the backend with VIABI. We want to be able to get their information from our backend.
Hope this documentation will help you to create your own VIABI and create wonderful apps for you and your users.
If you find any difficulty to make your VIABI API work, feel free to reach us support@growithis.com